.svg)
WordPress to Webflow Migration: Complete Guide for 2026
Migrating from WordPress to Webflow is a significant decision for any website owner. This guide will help you navigate the process smoothly.
WordPress is known for its flexibility and vast plugin ecosystem. However, Webflow offers a unique visual design interface.
This makes it easier for designers to create custom websites without coding. The migration can enhance site performance and design flexibility.
You'll learn how to export content from WordPress and import it into Webflow. Webflow's hosting services eliminate the need for third-party hosting.
Before starting, it's crucial to audit your current WordPress site. Identify essential content and features to ensure a seamless transition.
Webflow supports custom code, allowing for advanced functionality similar to WordPress plugins. SEO settings need careful management during migration.
This ensures your search engine rankings remain intact. Webflow's responsive design capabilities ensure your site looks great on all devices.
Prepare for manual adjustments to maintain content and design fidelity. Let's dive into the complete guide for a successful migration in 2026.
Why Migrate from WordPress to Webflow in 2026?
.jpg)
Choosing to migrate from WordPress to Webflow can be a game-changer for your website. The decision largely depends on your specific needs and long-term goals.
WordPress has long been favored for its versatility. Its extensive plugin ecosystem enables numerous functionalities. However, this can also lead to complexity and potential performance issues.
Webflow offers a cleaner, more integrated environment. It combines design and CMS capabilities seamlessly. This makes it an attractive choice for designers and developers alike.
The visual design interface in Webflow simplifies the creation of custom sites. You won't need extensive coding knowledge to make stunning webpages. This is a significant advantage for those focused on visual appeal.
Performance is another reason to consider migration. Webflow's optimized hosting can lead to faster load times. This is crucial for improving user experience and SEO rankings.
Security is also a critical factor. Webflow's built-in SSL and hosting protection can provide peace of mind. Avoiding reliance on third-party plugins can reduce vulnerabilities.
In summary, the advantages of migrating from WordPress to Webflow can be compelling:
- Improved design flexibility and ease of use.
- Enhanced site performance and load times.
- Integrated design and CMS tools.
- Strong security features with built-in SSL.
Ultimately, migrating to Webflow could streamline your website management and design processes. As digital trends evolve, Webflow can offer a future-proof platform for innovative web design.
Pre-Migration Planning: What to Consider Before You Start
Before jumping into migration, careful planning is essential. A structured approach helps avoid common pitfalls and ensures a smooth transition.
First, audit your current WordPress site. Identify all essential content and functionalities. This helps prioritize what needs to be transferred to Webflow.
Consider the redesign of your site. Think about how Webflow's design tools can improve it. Visualize how you want your site to look and feel post-migration.
Organize your assets, including images and media files. Determine which ones require optimization for better performance in Webflow. Streamlining assets can impact loading times positively.
Communication is key if you're working with a team. Ensure everyone understands their roles and responsibilities during migration. This includes both planning and execution phases.
Evaluate your current SEO settings. Note down keyword positions and backlinks. This will guide you in setting up proper SEO in Webflow to maintain rankings.
Things to Consider:
- Key functionalities and features to migrate.
- Website design and visual elements.
- Asset organization and optimization.
- Team roles and responsibilities.
- Current SEO positions and requirements.
Finally, develop a migration timeline. Set milestones to track your progress. This will help manage expectations and keep the migration on schedule. Careful planning paves the way for a successful site transformation.
Step 1: Audit Your Current WordPress Site
Before embarking on the migration journey, a comprehensive audit of your WordPress site is crucial. This step ensures all vital components are accounted for and nothing essential is missed.
Begin by listing all the content types present on your site. This includes blog posts, pages, custom post types, and media files. Knowing what you have helps in planning what you need on Webflow.
Examine your site’s functionalities. Identify features you currently use, such as contact forms or e-commerce solutions. Determine which ones are integral to your website’s performance.
Assess existing plugins and themes. Identify any third-party tools critical for operations. Recognize which functionalities must be recreated in Webflow's environment.
Compile a list of your site's URLs. This task is fundamental for setting up 301 redirects later. It ensures users find your content seamlessly after migration.
Key Elements to Audit:
- Content types
- Essential functionalities
- Plugins and themes
- URL structure
This audit sets the foundation for a successful WordPress to Webflow migration by mapping out the journey ahead.
Step 2: Exporting Content and Media from WordPress
With the audit complete, it’s time to export your content from WordPress. This step sets the stage for transferring everything essential to your new Webflow site.
WordPress makes exporting content straightforward through its built-in export tool. Navigate to Tools > Export in your WordPress dashboard. Choose the types of content you wish to export, such as posts, pages, and media.
Opt for exporting all content to ensure a comprehensive transfer. This file will come in XML format. It captures text, metadata, and media, ready for transition to Webflow.
For media files, consider using an FTP client. This allows you to download all images and media directly from the WordPress server. It's an efficient way to ensure nothing is left behind.
Be mindful of custom post types and specific plugins. Some data might require special handling or additional plugins to export. Double-check these elements before concluding the export process.
After completing these tasks, verify the exported files. Ensure they cover all areas and no critical information is missing. This verification step is key to seamless migration into the Webflow ecosystem.
Export Process:
- Use WordPress export tool
- Download media via FTP
- Handle custom post types separately
- Verify completeness of exports
Step 3: Setting Up Your Webflow Project and CMS Structure
Starting a new Webflow project lays the foundation for your site's design and content. Begin by signing into Webflow and creating a new project. Choose a blank canvas to build from scratch, or consider one of Webflow’s templates if they fit your site’s needs.
Next, configure the CMS structure. This involves setting up collections similar to WordPress' custom post types. Decide how to organize your content in Collections such as blogs, projects, or team members.
Webflow CMS structure setup
To establish this structure effectively, reflect on the relationships between content pieces. Each Collection requires fields to hold data, like titles, images, or dates. Define these fields carefully to accommodate all content nuances.
Think about the design too. Sketch initial layouts to visualize how the content will interact with design elements. Take advantage of Webflow’s Designer tool, enabling pixel-perfect control over elements.
List to Set Up CMS:
- Create a new Webflow project
- Structure CMS with Collections
- Define fields for each Collection
- Plan content relationships and layout
Once your CMS structure is in place, preview the framework. This ensures it aligns with your vision before importing content. Proper planning at this stage streamlines future steps, facilitating smoother content integration and design phases.
Step 4: Importing Content into Webflow
After setting up the CMS, it's time to bring your content into Webflow. This step is about transforming exported data from WordPress into accessible content in Webflow. Begin by using the Webflow CMS Import tool.
The import process relies on CSV files. Ensure your WordPress export is formatted correctly. Carefully review your CSV files for completeness and accuracy before uploading them to Webflow.
Import smaller batches of data for efficiency and control. This method helps in managing any errors that arise during the process. Webflow's interface allows you to map CSV fields to CMS Collection fields.
Validate field mappings meticulously. Align your CSV fields with corresponding Webflow CMS fields. Any mismatches could lead to data inaccuracies. Be mindful of unique fields like date formats and rich text areas.
Once your import settings are correct, proceed with the upload. Afterward, browse your collections to confirm everything was imported accurately. Adjust any discrepancies manually.
Key Steps for Content Import:
- Use Webflow CMS Import tool
- Check CSV file format
- Map CSV fields accurately
- Validate data in Webflow
This meticulous approach ensures your content is transferred with precision, setting the stage for seamless site building and design in Webflow. Once content is imported, you're ready to focus on styling and site functionality.
Step 5: Rebuilding and Redesigning Your Website in Webflow
With content successfully imported, it's time to focus on the creative aspect — rebuilding and redesigning your site. Webflow's visual design interface makes this step intuitive and exciting.
Begin by setting up the site's structure. Use Webflow's Designer tool to customize layouts. This stage involves translating your existing design or creating something entirely new. Take advantage of Webflow's drag-and-drop features.
Webflow allows for pixel-perfect design control. Implement custom grids, typography, and color schemes to reflect your brand’s identity. Utilize Webflow's design flexibility to enhance aesthetics and functionality.
Incorporate responsive design principles to ensure your site looks great on all devices. Webflow supports custom breakpoints, allowing for tailored experiences across various screen sizes. Test each layout on multiple devices to ensure consistency.
Leverage Webflow's animation and interaction tools for dynamic content. Apply transitions and effects to engage users. These elements can significantly enhance the user experience by making your site more interactive and enjoyable.
Key Design Steps:
- Use Webflow's Designer for custom layouts
- Apply responsive design principles
- Incorporate dynamic animations and transitions
Consider using Webflow templates to expedite design processes. Templates can be customized further to maintain uniqueness. They serve as a solid foundation, allowing you to focus on the finer details.
Thoroughly review the design for usability and accessibility. Ensure that navigation is intuitive and that content is easily accessible. This phase sets the tone for a user-friendly and visually stunning site, ready for functionality integration.
Step 6: Migrating Functionality and Integrations
With your Webflow design in place, focus shifts to migrating functionality and integrations. This stage ensures your website performs essential tasks smoothly.
Start by evaluating existing WordPress plugins and features that need replicating or substituting in Webflow. Webflow supports custom code, which allows for similar functionality through embedded HTML, CSS, or JavaScript snippets.
Identify third-party integrations used on your WordPress site, such as CRM systems or email marketing tools. Webflow integrates with various services through its API and third-party solutions like Zapier, enabling smooth workflows.
Consider building advanced interactions with Webflow’s built-in tools. These can replicate the dynamic features you loved in WordPress without plugins. Utilizing Webflow's native functionality reduces dependency on external scripts, improving site performance.
If your site included an e-commerce component, explore Webflow's e-commerce solutions as a replacement for WordPress's WooCommerce. Webflow supports multiple payment gateways and shipping options, ensuring comprehensive e-commerce capabilities.
Key Integration Steps:
- Evaluate and replace WordPress plugins
- Utilize Webflow's API for third-party services
- Explore Webflow's e-commerce capabilities
Regular testing is crucial. As you integrate new functionalities, verify their performance and compatibility. Ensure any custom code blends seamlessly with your site design, preserving user experience. This stage is vital for ensuring all essential functionalities from your old site are present in the newly rebuilt Webflow project.
Step 7: SEO Best Practices and 301 Redirects
SEO is crucial during your migration to Webflow. It ensures your site maintains its search engine rankings and visibility.
Start by reviewing your current WordPress SEO settings and export them if possible. Pay attention to meta tags, alt texts, and structured data. These elements play a key role in keeping your search presence intact.
Set up 301 redirects for all pages moving from WordPress to Webflow. Redirects are essential for preserving link equity, guiding users and search engines from the old URLs to the new ones on Webflow.
Webflow’s SEO tools allow easy management of metadata, redirects, and sitemap generation. Tailor these settings to align with your existing SEO strategy. Keep image optimization in mind as well, as it affects page speed.
It’s important to utilize Webflow’s native features for on-page SEO. This might include setting up proper headers, effective keyword placements, and maintaining clean URLs. These elements help improve your site’s organic reach.
SEO Checklist for Migration:
✔️Review and export WordPress SEO settings
✔️ Implement 301 redirects for all pages
✔️Utilize Webflow's SEO tools
Finally, test your SEO updates thoroughly. Use analytics to monitor performance changes post-migration. Ensure that all SEO aspects are functioning correctly to maintain or improve your current standings in search results. This proactivity helps avoid potential losses in site traffic during the transition.
Step 8: Testing and Quality Assurance
Once you’ve rebuilt your site in Webflow, thorough testing is crucial. Quality assurance ensures that everything functions correctly and matches your design expectations.
Begin by checking the website on various devices and browsers. This step ensures that your design is responsive and accessible to all users. Pay attention to layout issues and inconsistencies.
Conduct usability testing to identify any navigational challenges. This process is key in ensuring a smooth user experience. Fix any UI/UX issues that are identified during this phase.
Check all links and functionalities to confirm they work as expected. These checks include forms, navigation menus, and interactive elements. Functionality errors can disrupt user engagement and lead to high bounce rates.
QA Testing Checklist:
✔️ Verify design responsiveness across devices
✔️Conduct usability tests for user experience
✔️Test all links and interactions
Finally, gather feedback from team members or beta testers. Use their insights to make final adjustments. Quality assurance is not merely a formality; it’s integral to delivering a reliable and engaging online experience.
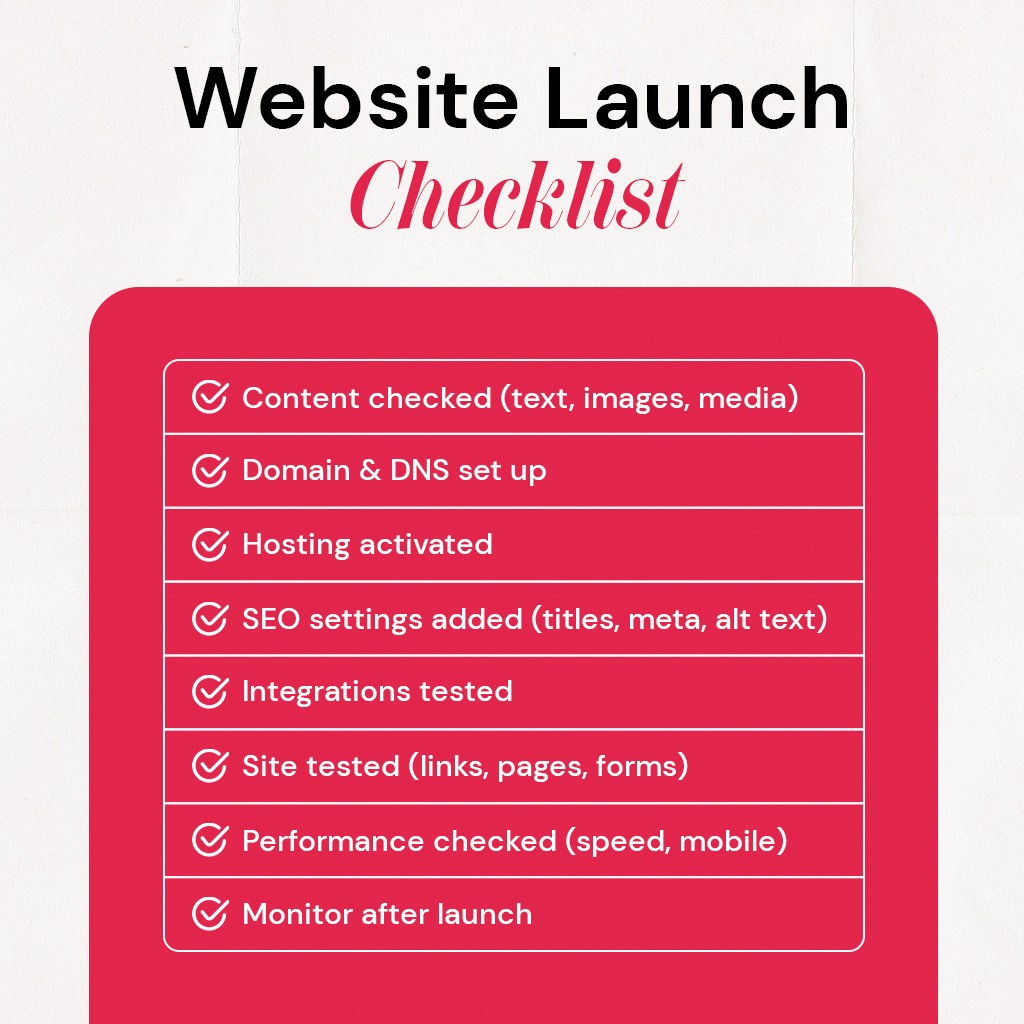
Step 9: Launching Your Webflow Site and Post-Launch Checklist
After extensive testing, you’re ready to launch your Webflow site. This is an exciting step, marking the transition from preparation to public presence.
Begin by ensuring all your content is updated and correctly imported. Double-check text accuracy, image quality, and media placement. Everything should reflect your brand perfectly.
On launch day, activate Webflow's hosting services. This step includes setting up your custom domain. Make sure DNS settings are correct to avoid downtime.
Verify your SEO settings are properly configured. This includes titles, meta descriptions, and alt texts for images. SEO should not be an afterthought since it affects visibility significantly.
Post-launch checklist:
✔️ Confirming DNS settings for the domain
✔️ Reviewing SEO elements and tags
✔️ Testing third-party integrations
After launch, monitor the site for any issues or bugs that may arise. Assess performance metrics to gauge speed and user engagement. Look for irregularities and respond quickly to feedback.
Maintaining flexibility is crucial. Be ready to make adjustments based on analytics and user feedback. This phase ensures long-term success and refinement of your digital presence.
Common Challenges and How to Overcome Them
Migrating from WordPress to Webflow comes with its set of challenges. Understanding these issues beforehand can make the transition smoother.
One common challenge is data loss during migration. Double-check your content by exporting and importing it carefully to avoid this issue. Always keep a backup handy.
Rebuilding site functionality can also be daunting. Webflow may require you to recreate features without plugins. Use Webflow’s code embedding for custom solutions and seek expert help if needed.
SEO discrepancies can affect your site’s rank post-migration. Ensure all SEO settings are transferred accurately and focus on implementing 301 redirects.
Handling performance issues can also be tough, particularly if your site had heavy media files. Optimize images and leverage Webflow's CDN to improve load times.
Here are some strategies to address these challenges:
- Conduct a thorough backup before migration
- Collaborate with Webflow specialists for complex functionalities
- Rigorously check SEO settings and employ redirects
Utilize Webflow’s community resources and forums for guidance. Their support can help tackle these hurdles effectively, ensuring a seamless migration experience.
Cost, Timeline, and Resource Planning for Migration
Migrating from WordPress to Webflow requires careful resource planning. Costs can vary depending on your site's complexity and the resources you choose to employ.
Consider the budget for Webflow's subscription and potential design costs. These might include fees for templates or hiring professional designers.
The timeline for migration can also fluctuate. Simple sites might take a week, while more complex ones could extend over a month. Break the migration process into steps and allocate realistic timeframes for each.
Key elements to consider include:
- Webflow subscription costs
- Design and development resources
- Estimated timeframe for each migration stage
Proactively managing these aspects ensures your migration is both time-efficient and budget-friendly. Planning effectively can prevent unexpected delays or expenses.
Final Tips and Resources for a Smooth Migration
To ensure a seamless migration from WordPress to Webflow, preparation is key. Start by organizing your content and auditing your existing site. This helps identify crucial content and features for migration.
Make use of Webflow’s vast array of resources. Tutorials and community forums can provide valuable insights and troubleshooting advice. Exploring these resources will ease the transition and boost your confidence in using the platform.
Don’t skip testing. Test your new Webflow site thoroughly across various devices and browsers. This ensures compatibility and uncovers any issues that might hinder user experience.
Remember, patience is crucial. Rushing can lead to errors, so take your time to address every detail meticulously. Here are some valuable resources to explore.
.svg)


.jpg)
.svg)

.svg)

.svg)
